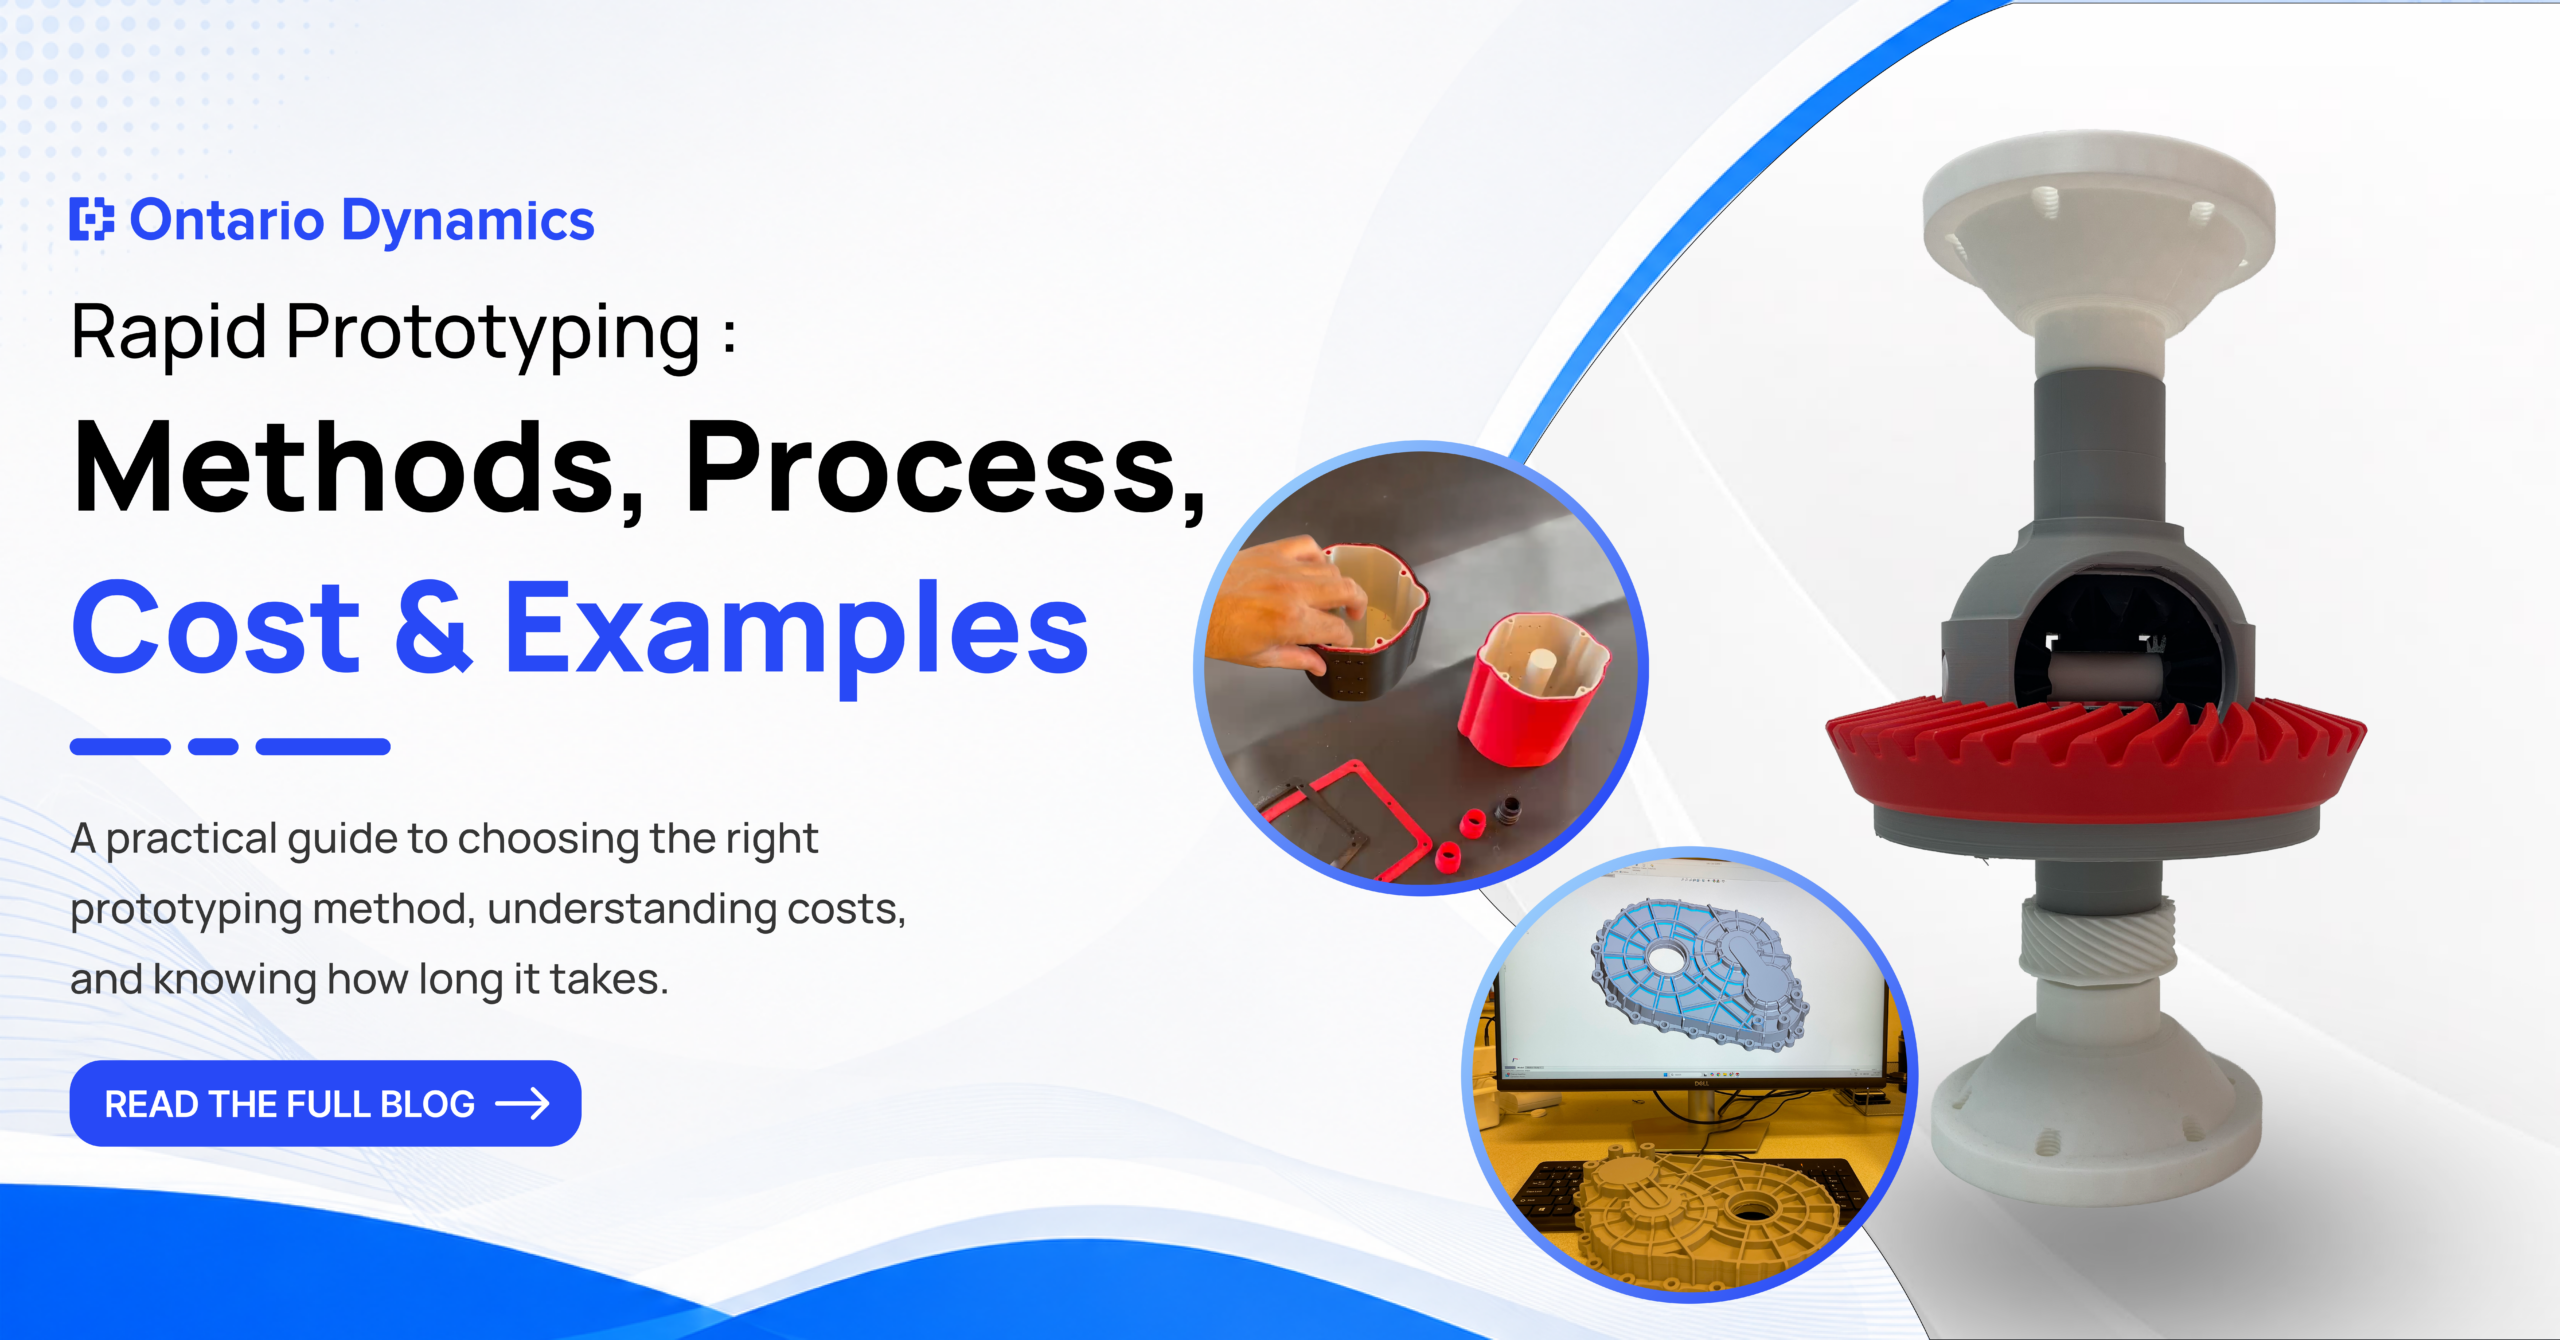
Rapid Prototyping: Methods, Process, Costs & Examples
Objective
Help product teams pick the right way to build a first physical part, and know what it costs and how long it takes.
Key Takeaways:
- Match the method to the question the part must answer, not to the lowest price.
- 3D printing suits early fit checks. CNC machining suits tight tolerances and production-like metal.
- Cost depends on material, complexity, quantity, and testing, not only part size.
A bracket that looks perfect in CAD can still split when the first bolt is tightened. Rapid prototyping catches that failure on a test part, before it reaches production tooling.
It means quickly building physical parts from a digital model using methods such as 3D printing and CNC machining so that you can check fit, function, and assembly early. At Ontario Dynamics, we use it to answer one question at a time: does it fit, does it hold, can it be made at volume?
This guide covers the process, methods, materials, cost, and how to choose a partner.
TL;DR: A CAD file can become a physical part in days. Use 3D printing for early shape and fit checks, and CNC machining for load testing or tight tolerances. A simple appearance model costs a few hundred dollars. A functional machined assembly costs several thousand. Define what the part must prove before you order it.
What Is Rapid Prototyping?
Rapid prototyping is the fast fabrication of a physical part or assembly from a 3D design so a team can test it and revise it. “Rapid” describes quick learning and iteration. It does not promise one-day delivery, because complex or metal parts still take days or weeks.
The difference from conventional prototyping is the starting point. The part comes straight from CAD on digital machines, so a design change means editing a file instead of building new tooling.
How Does the Rapid Prototyping Process Work?
The process has six steps: define what the prototype must prove, review the CAD model, select material and method, fabricate the part, test it, and refine the production design. Most teams repeat the middle steps more than once.
- Define the objective. Write the one question the part must answer, such as whether a snap fit survives repeated use.
- Review the CAD model. Check wall thickness, tolerances, and clearances before anything is built.
- Select material and method. This choice sets cost, speed, and which tests are valid.
- Fabricate the part. Print, machine, form, or cast it.
- Test and measure. Check fit, movement, and strength against the objective.
- Refine for production. Update the CAD, run a DFM review, and prepare drawings for suppliers.
A prototype without a clear objective produces data nobody can use. We cover the build stage in our guide to the prototype manufacturing process
Which Rapid Prototyping Method Should You Choose?
Choose by what the part must prove. Use 3D printing for shape, fit, and assembly checks. Use CNC machining when the part must carry load or hold tight tolerances in production-like metal. Use vacuum casting or rapid tooling when you need small batches of near-final parts.
Method | Best For | Main Limit |
FDM 3D printing | Early shapes and fit checks | Visible layers, weaker across layers |
SLA 3D printing | Fine detail and visual models | Material properties vary by resin |
SLS and MJF | Functional plastic parts, snap fits | Finish and material range |
CNC machining | Accurate metal or plastic parts | Setup and geometry limits |
Sheet metal | Brackets, guards, enclosures | Bend and tooling limits |
Vacuum casting | Small batches of copied parts | Mold life, material match |
These are general guides, not fixed limits. One online manufacturer publishes standard tolerances of about ±0.5 mm for prototype-grade FDM and ±0.3 mm for SLS and MJF, while its CNC machining can reach about ±0.02 mm. Our guide to rapid prototyping with 3D printing compares each printing process in detail. The guide to silicone prototyping methods covers casting soft parts. hubs3dhubs
Consider an aluminum bracket that must carry a load. FDM parts have anisotropic mechanical properties, so a basic print can fail earlier than the machined version. The print arrives sooner, but the machined part gives the more useful answer. jlc3dp
Material matters as much as method. A printed resin can confirm geometry but not final strength. Aluminum and steel give real load data. Soft parts such as seals need silicone, usually through casting or molding. Our guide to different types of prototypes matches each development stage to a method.
How Much Does Rapid Prototyping Cost and How Long Does It Take?
Cost depends on part size and complexity, material, method, quantity, revisions, and finishing or testing. In our cost guide, a basic 3D printed appearance model runs about $150 to $600, and a functional machined assembly runs $1,500 to $8,000 or more.
Lead time follows the method. Our 3D printing guide lists 1 to 2 days for FDM and 5 to 10 days for metal printing. A functional rapid prototype typically takes 7 to 14 days. Those figures cover fabrication only. CAD review, finishing, and testing add time.
Silicone prototype tooling can land around 10% to 20% of a comparable hard-tooling commitment, and that is a budget frame, not a quote. Injection molding typically becomes cost-effective between 500 and 5,000 units, depending on part complexity and tooling cost. For worked pricing examples, read how much a prototype costs.
To keep cost down without weakening the test, print early revisions and machine only the version going to load testing.
Where Is Rapid Prototyping Used?
Rapid prototyping is used wherever a physical part must be checked before production: automotive, industrial equipment, consumer products, medical devices, and robotics. The parts tested are usually components such as brackets, housings, fixtures, and mounts.
- Automotive: brackets, covers, mounts, and housings, checked for clearance, service access, and vibration.
- Industrial equipment: guards, access panels, and mounting plates, checked for installation and maintenance access.
- Consumer products: enclosures, grip, and button placement, checked for handling and assembly.
- Medical devices: housings, handles, and fixtures, checked for ergonomics and fit.
- Robotics: grippers, sensor mounts, and end-of-arm parts, checked for movement clearance and alignment.
How Do You Choose a Rapid Prototyping Partner in Canada?
Choose a partner who reviews your CAD before building, explains why a method fits your test, works under NDA, and supports the step after prototyping. A shop that only makes parts from a file leaves those decisions to you.
Ask about CAD review and DFM, material options, revision turnaround, documentation, and handoff to suppliers. At Ontario Dynamics in Toronto, we review CAD files for fit, tolerance concerns, and manufacturing challenges before fabrication begins, and we sign an NDA before any technical discussion. Our product prototyping services in Ontario cover CNC machining, 3D printing, and sheet metal fabrication.
Choose the Method That Answers Your Question
The best prototype is the least costly one that answers your question. Print early shapes, machine the parts that must carry load, and tie every build to a test. At Ontario Dynamics, we help product teams make that choice, from CAD review to production handoff. Send your file or concept through our contact page, and we will tell you which method fits.
FAQ
No. 3D printing is one rapid prototyping method. CNC machining, sheet metal fabrication, vacuum casting, and rapid tooling also produce prototypes quickly, and each suits different tests.
Yes, if the material and method match what you are testing. A CNC machined metal part can support load testing. A basic FDM print is better suited to fit and assembly checks.
A 3D CAD file is the usual starting point, often in STEP format. A 2D drawing helps when tolerances, threads, or finishes matter. We can also start from a sketch, drawing, or sample part.
When a substitute material cannot represent real operating conditions, such as high heat or repeated fatigue loading. The prototype can then mislead you. Test with production material or tooling instead, or use simulation first.
Ready to Build Your Product?
Let’s turn your idea into a production-ready product engineered for success.