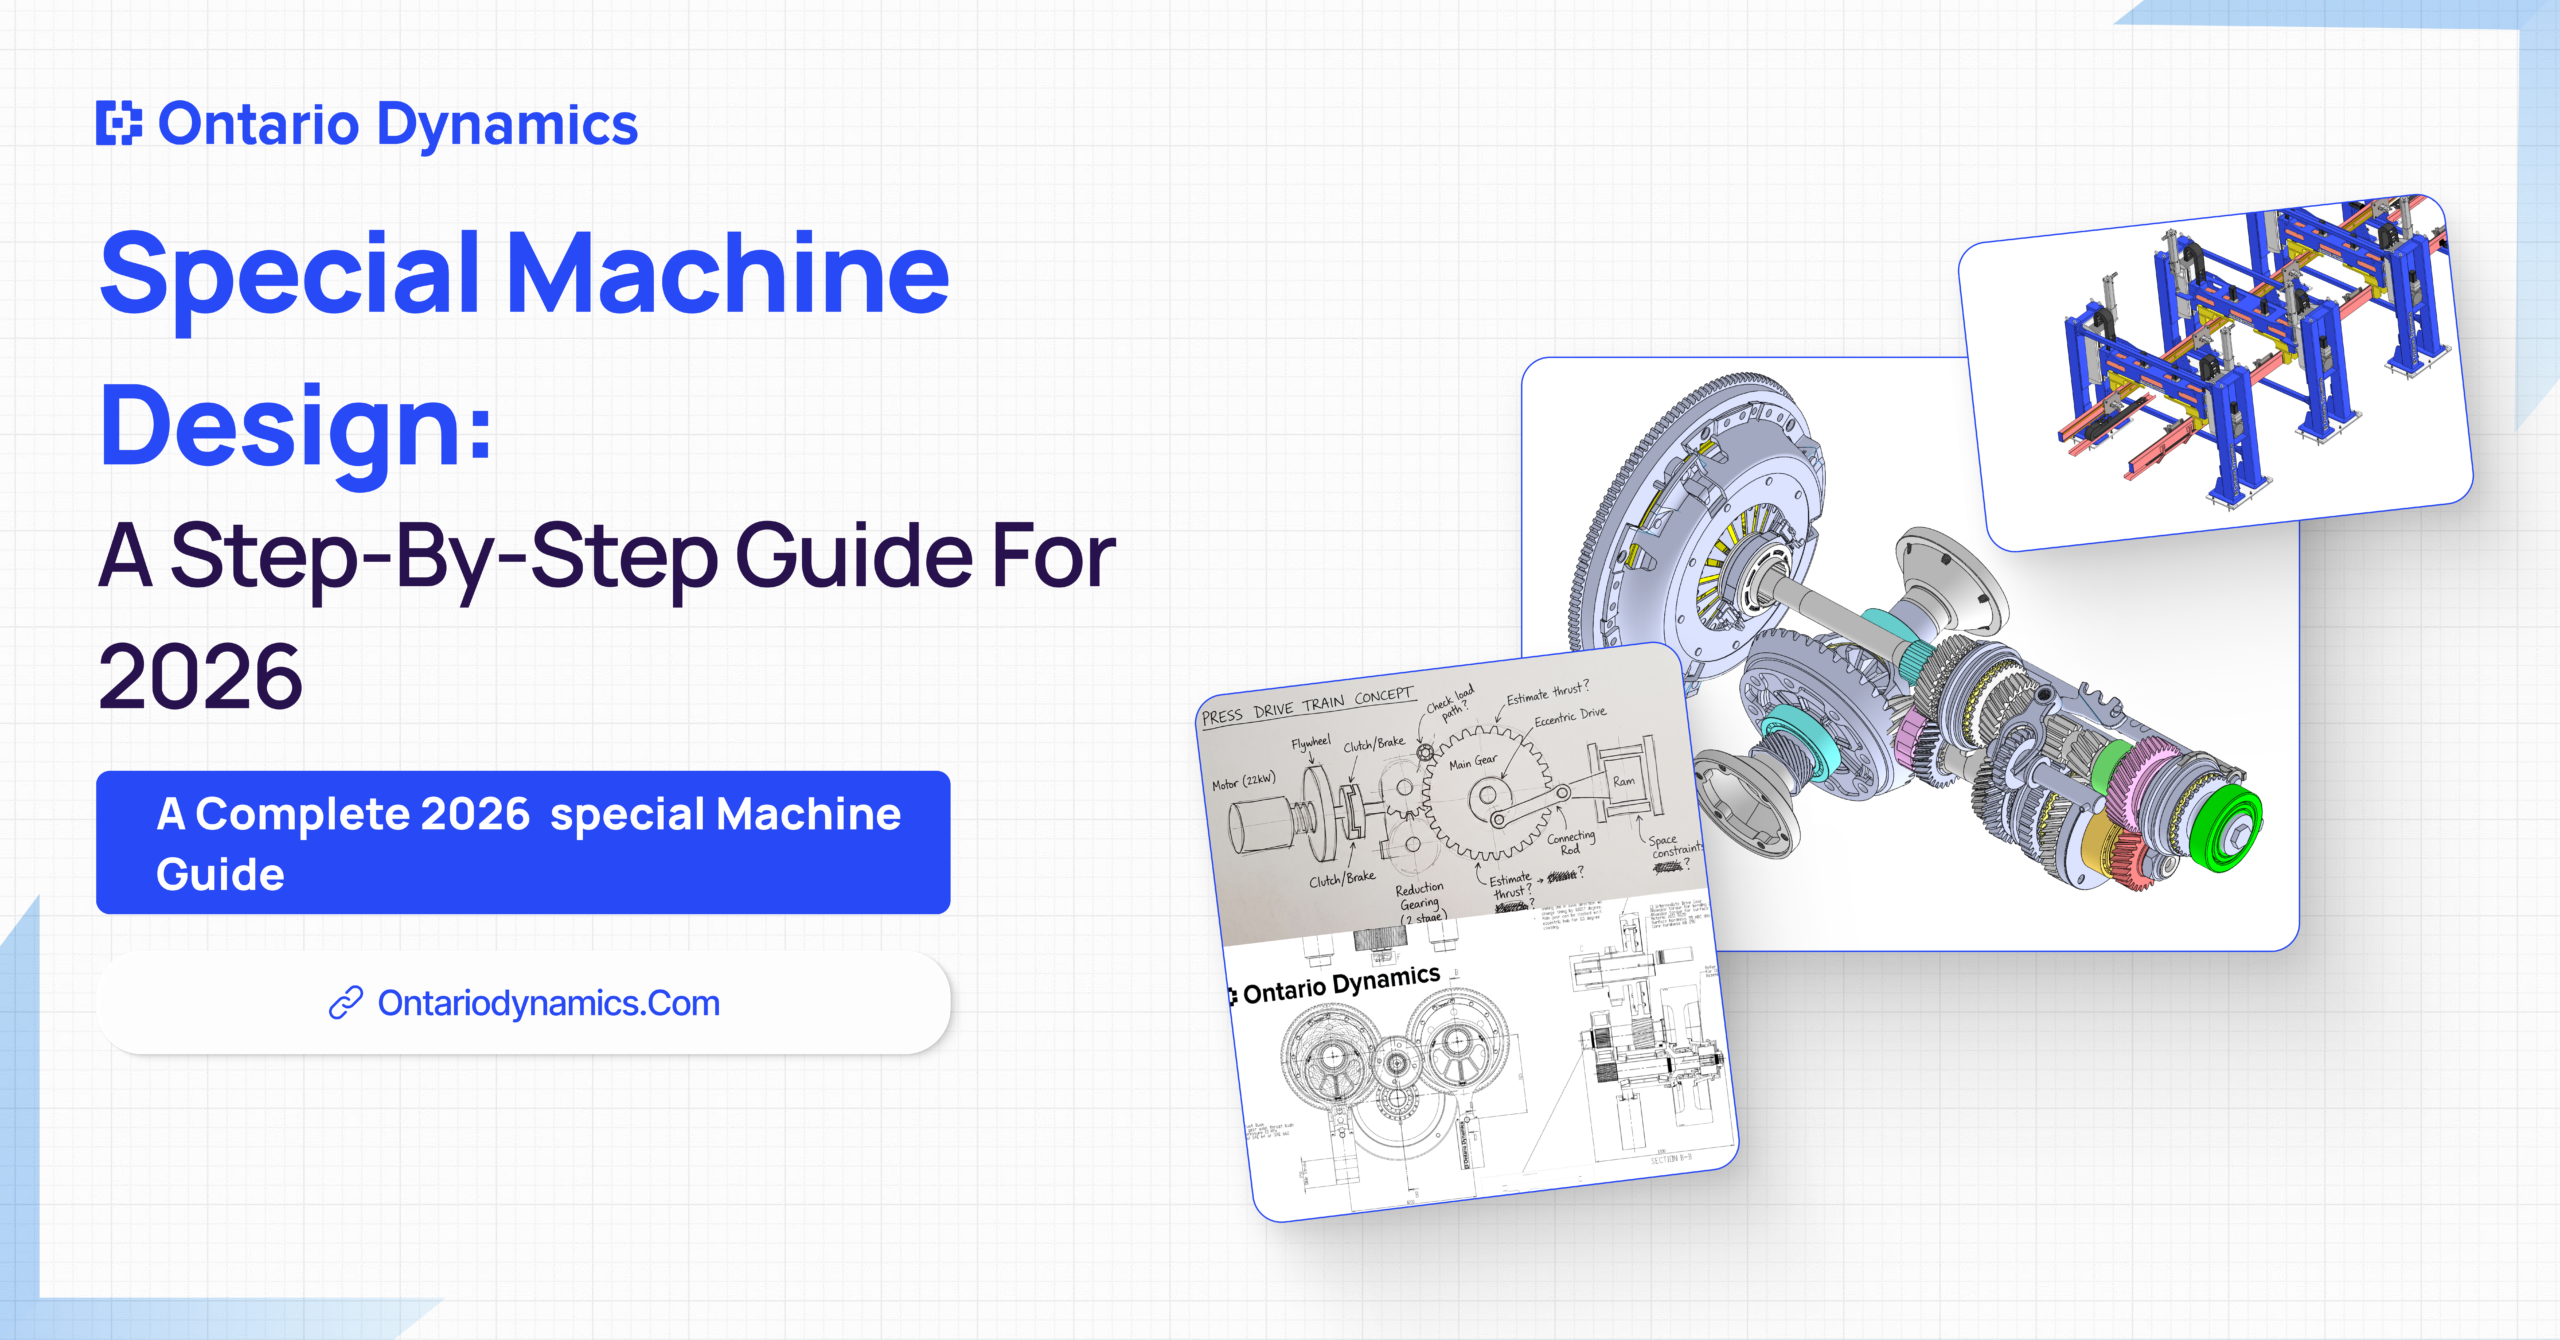
Special Machine Design: A Step-by-Step Guide for 2026
Objective: Walk manufacturers and product teams through the actual sequence behind designing a special-purpose machine, so a $200K gap between two quotes stops being a mystery and starts being something they can evaluate.
Key Takeaways:
- The steps in designing a special machine run from requirements through concept, detailed design, prototyping, and production release
- Special-purpose machines typically cost $150,000 to $1.5 million or more, and design maturity, not raw talent, decides whether that budget stays on track
- Two machines that look identical on paper can vary 2 to 3x in cost based on controls architecture, safety design, and engineering depth
- Late finalization of product design is the single most common source of schedule risk on these projects
Two quotes land on your desk for what looks like the same machine. One comes in at $400,000. The other at $600,000. Both promise the same throughput, the same footprint, roughly the same delivery window.
There’s no way to tell from the number alone which one reflects real design depth and which one cut a corner that shows up eight months into production. The difference almost always lives in the process behind the quote, not the number on it.
That process has a name: the steps in designing a special machine. Understand the sequence, and the gap between two quotes stops being a guessing game.
In Brief: Designing a special-purpose machine follows a structured sequence, from defining requirements through concept, detailed design, prototyping, and production release. Special-purpose machines typically run $150,000 to $1.5 million or more depending on complexity, and design maturity is the single biggest driver of whether that project stays on schedule.
The Importance of an Effective Machine Design Process
Process discipline matters more than raw talent on the design team. Two machines that look identical on a quote sheet can end up worlds apart in real-world reliability and cost.
Steven Douglas Corp’s 2026 data puts a number on this: machines that appear similar on paper can vary 2 to 3x in cost based on controls architecture, safety design, and how much depth actually went into the design work. That spread isn’t padding. It’s the price of the corners that either got cut or didn’t.
A rushed process shows up later as unplanned downtime, safety retrofits, or a machine that can’t hit the cycle time it was quoted for. A disciplined process shows up as a machine that runs the way the proposal said it would.
The Core Elements of Machine Design
Every special machine design rests on four categories of decisions. Skip depth in any one of them, and the gaps surface later, usually on the shop floor.
Mechanical Behavior
This covers how components respond to forces during operation: statics, dynamics, fatigue. Picture a shaft under repeated cyclic load in a high-cycle indexing table. Size that shaft for peak load only, and it survives the acceptance test. Ignore fatigue behavior across a million cycles, and it fails at month eleven, right when the warranty conversation gets uncomfortable.
Machine Elements
Gears, bearings, fasteners, shafts, couplings. These are the physical building blocks, and each one has to be sized for the specific application rather than pulled from a generic parts catalog. A bearing rated for the wrong duty cycle wears out early no matter how good the surrounding design looks.
Manufacturing Processes
Casting, machining, welding. The manufacturing method has to be decided alongside the design, not bolted on afterward. A welded frame and a machined frame hit very different cost and tolerance targets, and choosing after the geometry is locked usually means redesigning it anyway.
Material Selection
Strength, weight, cost, and wear resistance pull against each other constantly. A lighter alloy might cost more per pound but reduce structural load elsewhere in the machine, which can lower the overall bill even though the material line item went up. Trade-offs like that only get made correctly when material selection happens early, not as a last-minute swap.
Steps in Designing a Special Machine Process
The machine design process moves through ten stages, from defining what the machine needs to do all the way through production support after it ships. Skipping ahead on any one of them is usually where the schedule risk gets introduced.
Step 1: Define Requirements and Constraints
Nail down functional requirements: forces, speeds, accuracy, throughput. Layer in performance targets, safety and lifecycle needs, and hard constraints like geometry, cost, applicable standards, and delivery schedule. Everything downstream traces back to this step.
Step 2: Conceptual Design (System-Level)
Break the machine down into subsystems and generate several concept layouts before committing to one. Quick feasibility checks weed out the weak options early. A trade-off matrix, not a gut call, picks the concept that moves forward.
Step 3: Preliminary Design and Top-Level Sizing
Block diagrams take shape here, along with sizing for prime components like motors, transmissions, and bearings. Weight, envelope, and critical interfaces get established before anyone commits to detailed CAD.
Step 4: Detailed Design and Analysis
Full 3D CAD and assembly drawings come together, backed by the analysis that proves they’ll hold up: static strength, fatigue, kinematics, dynamics, thermal, and fluid or pressure analysis where the application calls for it. This is where the design earns its confidence, not just its geometry.
Step 5: Component Selection and Standardization
Off-the-shelf components get selected against manufacturer data and standardized safety factors. Part families get standardized where possible, and the bill of materials takes shape. Standardization here pays off later in sourcing and spare-parts availability.
Step 6: Prototyping and Manufacturing Planning
Prototypes get built at a scale matched to risk and cost, not built for their own sake. The manufacturing plan comes together in parallel, and manufacturing drawings with GD&T callouts get produced so the shop floor has exactly what it needs.
Step 7: Testing and Validation
Functional, endurance, and environmental or safety compliance testing happen here. Real performance data gets compared against what the analysis predicted, and any failure modes found get iterated on before release. Motionwell’s 2026 data flags late finalization of product design as the most common source of schedule risk in special-purpose machine projects, and testing at this stage exists specifically to catch that before it becomes one.
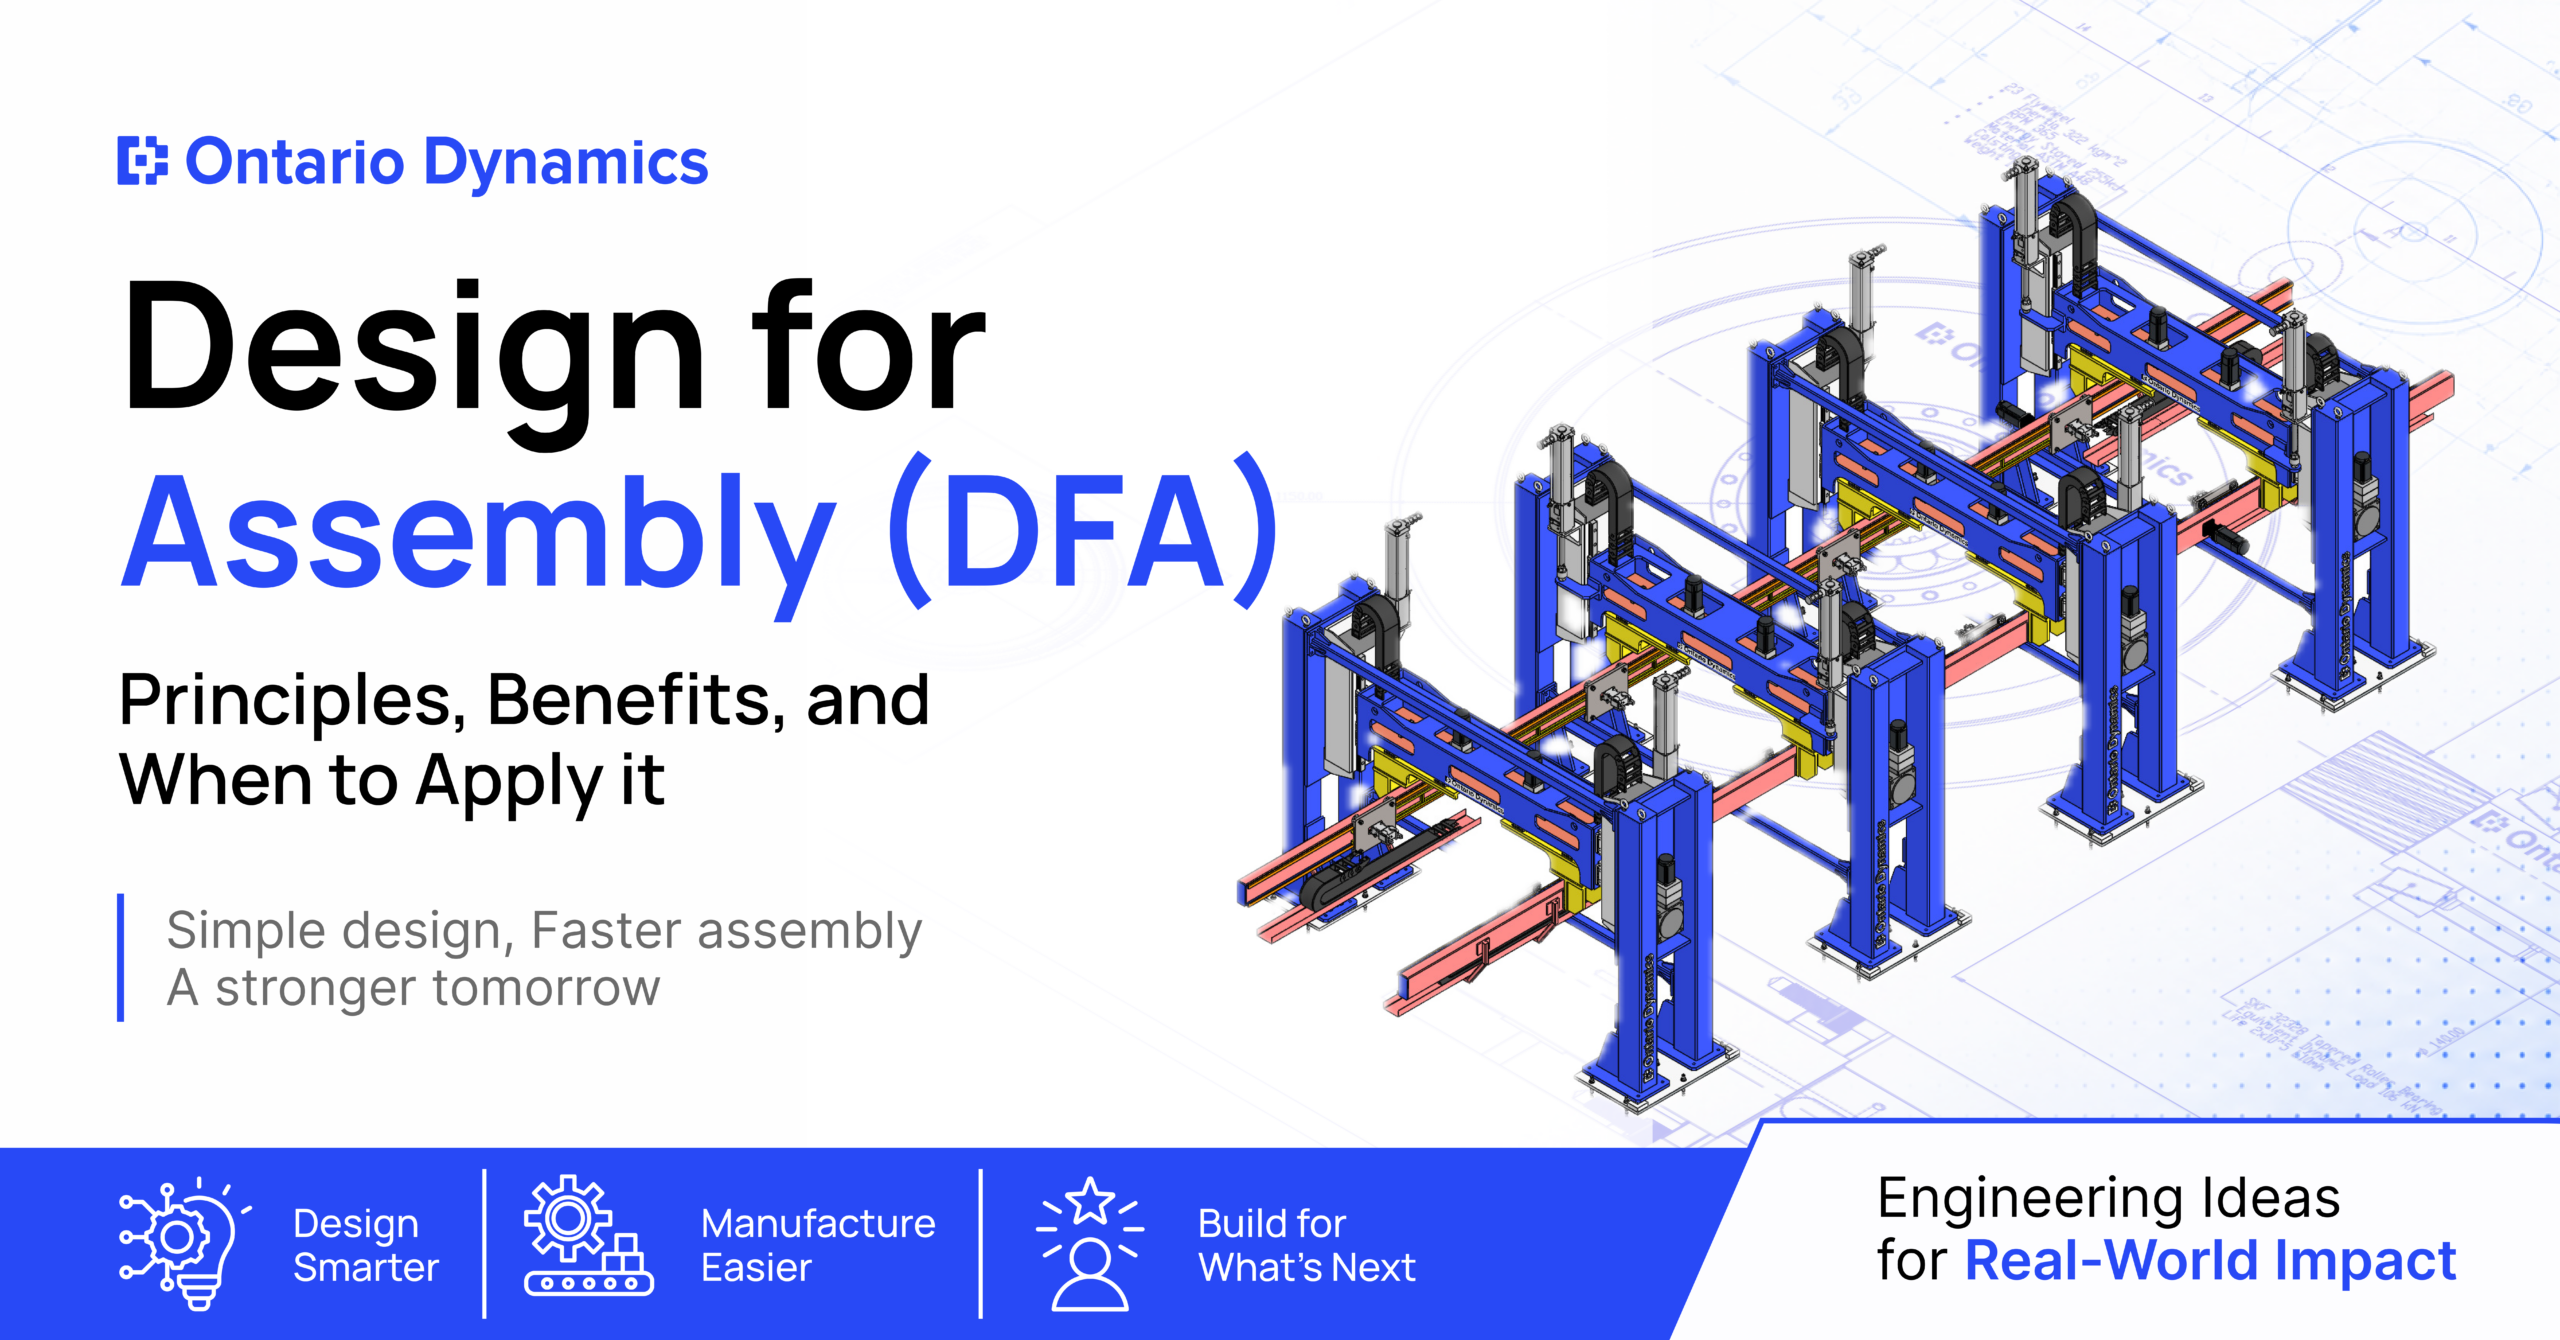
Step 8: Design for Manufacturability, Assembly & Service (DFM/DFA/DFS)
The design gets optimized for easier, lower-cost manufacturing and assembly, and for serviceability through modular, accessible components. Running through a design for manufacturability checklist at this stage catches issues while they’re still cheap to fix.
Step 9: Final Documentation and Release
Final drawings, compliance documentation, and a frozen configuration get released to procurement and production. Design maturity is the single biggest driver of project timeline: a locked spec holds the schedule, and a spec that keeps changing resets it every time it moves. This step is a special-purpose machine’s version of design freeze, and it deserves the same discipline.
Step 10: Production Support and Continuous Improvement
The initial production run gets supported directly, field performance data gets captured, and improvements flow back through formal engineering change orders. The relationship with the design doesn’t end at shipment.
How Can You Actually Improve Your Machine Design Process?
Four habits separate teams that hit schedule from teams that don’t:
- Use iterative loops. Early concept testing and frequent analysis catch problems while they’re still cheap to fix, instead of during Step 7 when a redesign costs real money.
- Focus early on interfaces, standard parts, and safety-critical elements. These are the hardest things to change late, so lock them down first.
- Quantify uncertainty and risk. Prioritize prototyping around the highest-risk assumptions, not the parts of the design everyone already feels confident about.
- Automate repetitive calculations. Keep a traceable design rationale so later verification and certification don’t require reconstructing decisions from memory.
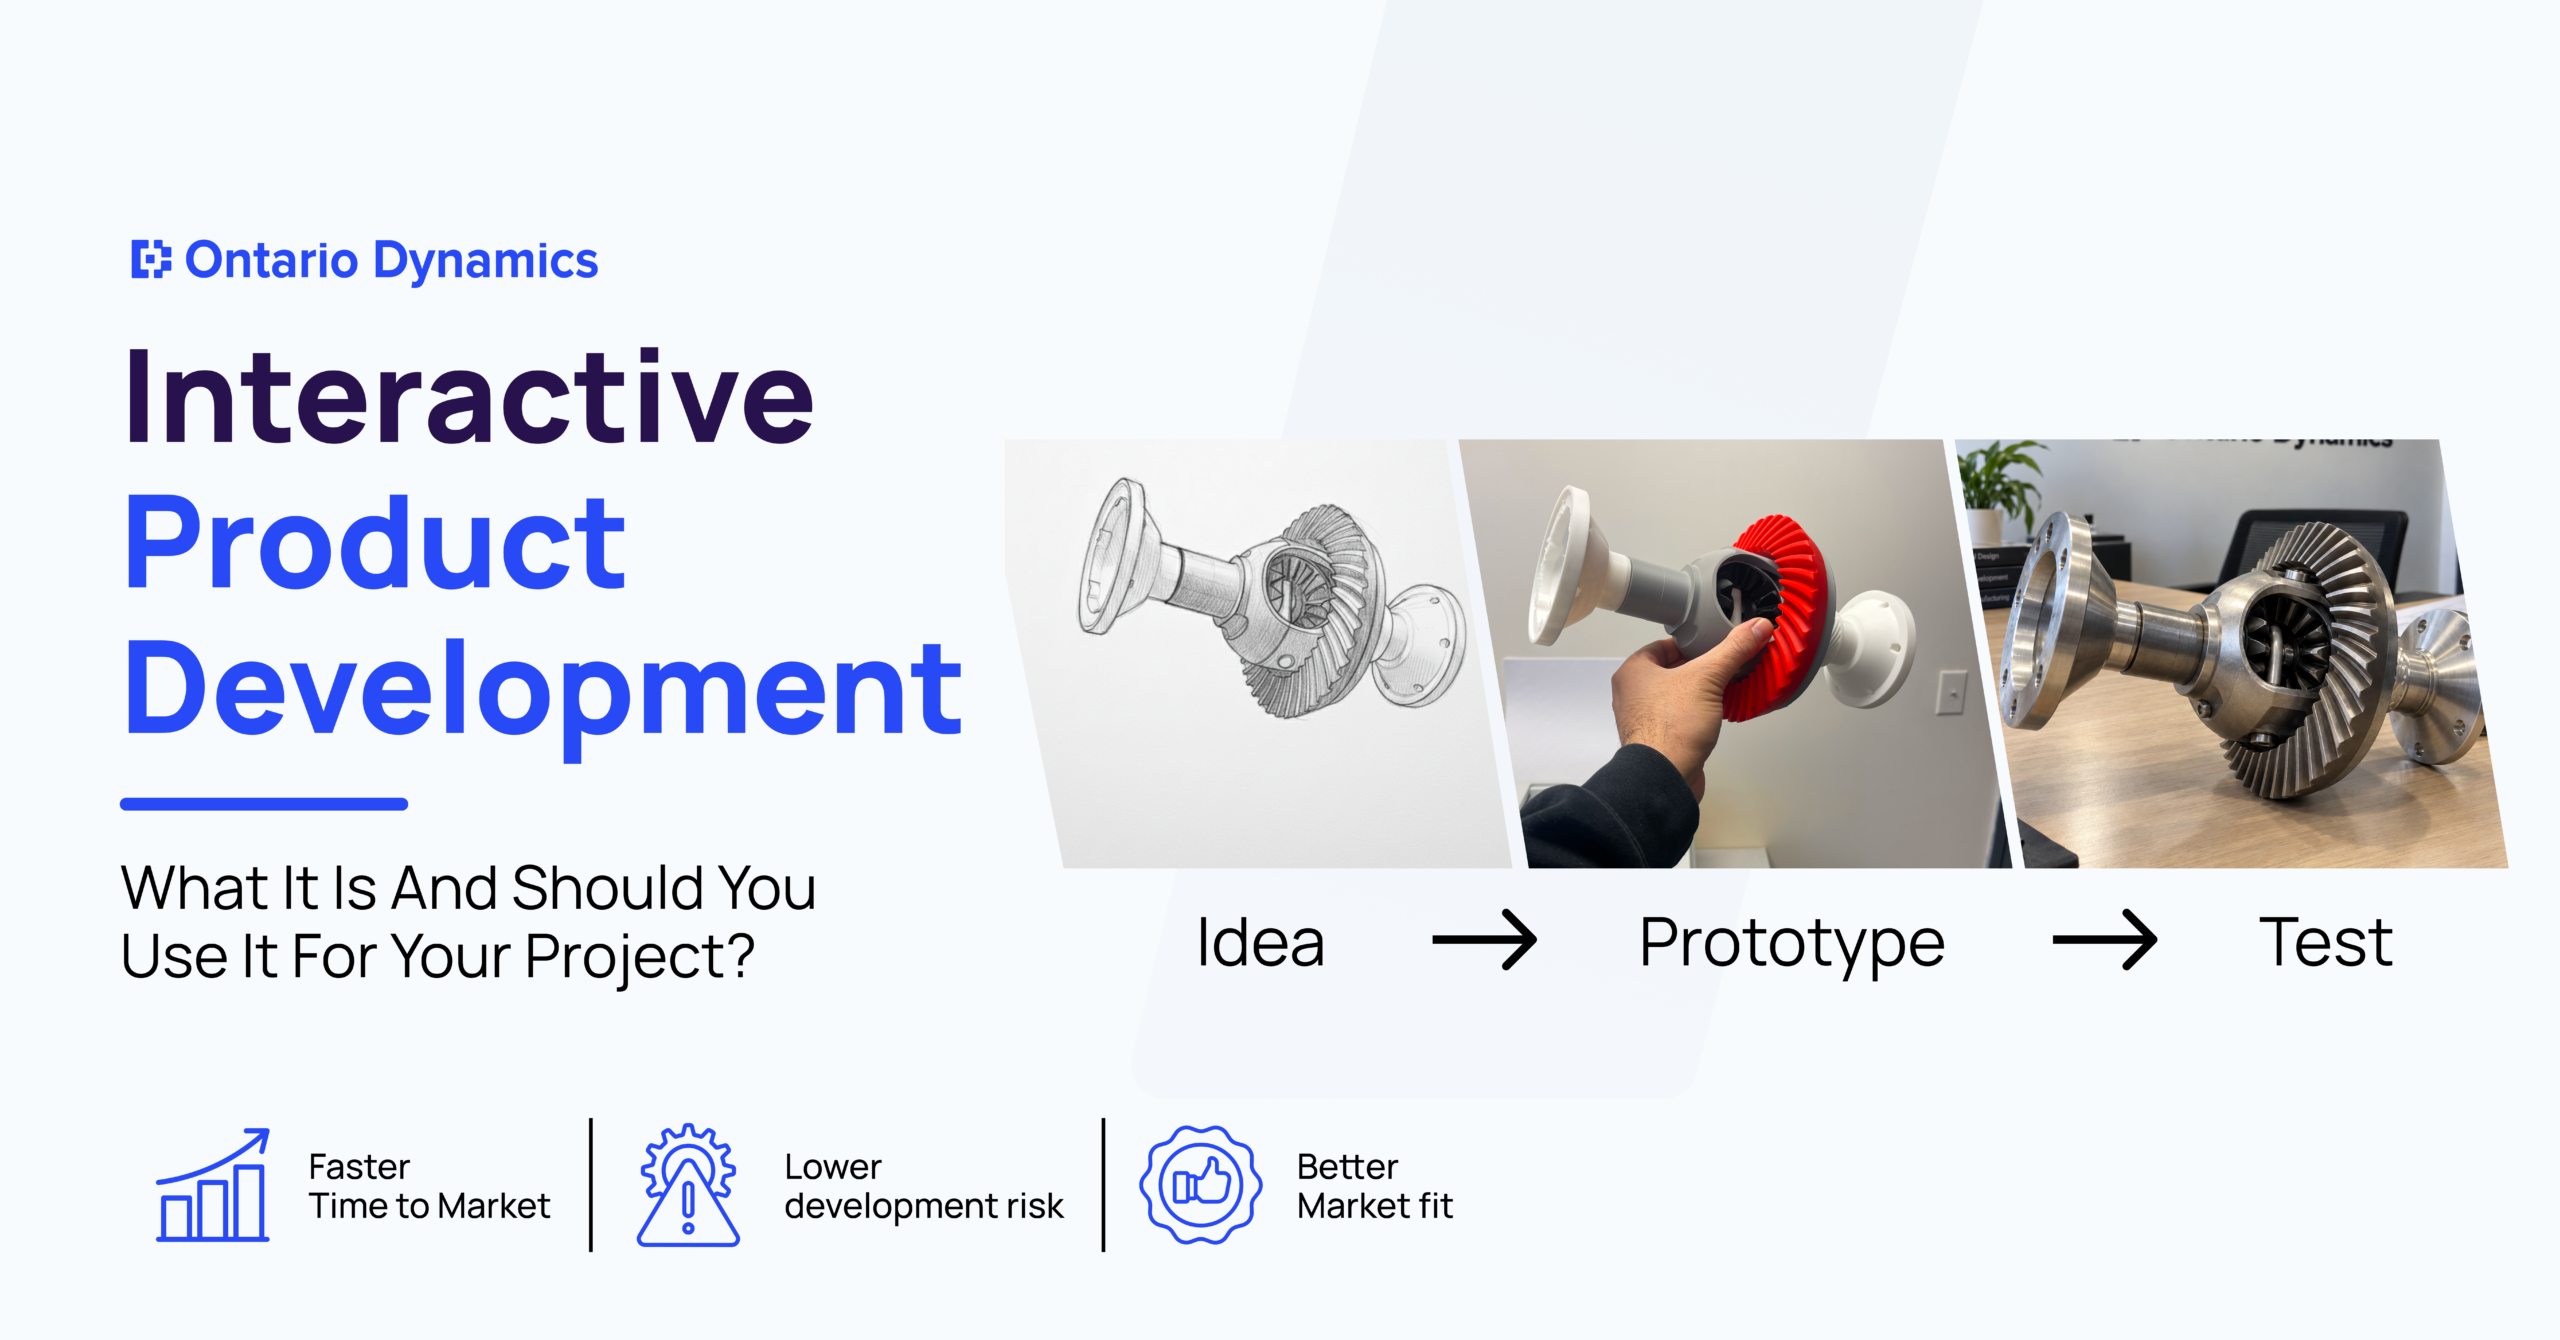
This connects directly to iterative product development: fast iteration works well on a screen, but it still has to meet the reality of a physical machine that gets built once and has to work.
The Role of Machine Design Engineering Solutions
Four criteria separate a partner worth trusting from one that just quotes low:
Full-phase coverage from requirements through production support. Does the partner stay involved from Step 1 through Step 10, or hand the project off somewhere in the middle, leaving you to manage the gap yourself?
DFM/DFA built into detailed design, not bolted on after. Is manufacturability considered during Steps 4 and 5, or discovered during Step 8, when changes cost far more to make?
Formal change control once configuration is frozen. Once the spec is locked, are post-freeze changes documented and impact-assessed, or handled informally over email and forgotten by the next milestone review?
Real depth behind the quote, not just a lower number. Can the partner explain exactly what drives their price, whether it’s controls architecture, safety design, or documented traceability, rather than just naming a total and moving on?
Tell us what the machine needs to do. We’ll help you determine whether it’s a standard automation fit or a special-purpose build, and what the process looks like from there.
Our Special Purpose Machine Manufacturer & Automation Solutions work runs on exactly this structure, from the first requirements conversation through commissioning and beyond.
Conclusion: What This Means for Your Next Build
Designing a special-purpose machine isn’t one technical task. It’s a sequence of decisions, starting with whether a custom build is even the right call in the first place.
Teams that treat design maturity as a discipline, not an afterthought, are the ones whose $150,000 to $1.5 million investment lands on schedule. Teams that skip steps to save time upfront usually pay for it later, with interest.
For manufacturers across Canada evaluating a special-purpose machine build, Ontario Dynamics’ Special Purpose Machine Manufacturer & Automation Solutions carry the design through from requirements to production support, so the depth behind the quote is visible from day one.
This process follows the same design-freeze and DFM discipline covered elsewhere in this cluster. A special-purpose machine is one stop on a longer equipment development journey, and getting the early steps right is what makes the later ones cheaper.
If a quote feels off, or if you’re not sure whether your project needs standard automation or a custom build, request a consultation with the Ontario Dynamics team before committing to a number you can’t fully explain.
FAQ
It depends heavily on complexity, but a typical project runs from a few months for a straightforward build to over a year for something with significant controls integration or regulatory requirements. The steps don't change, only how much time each one needs.
Usually it comes down to engineering depth: controls architecture, safety design, and how much analysis actually backed the design versus how much was estimated. A lower number often means less of that depth, not a better deal.
Standard automation is built for a general task across many customers. A special-purpose machine is built around your exact process, parts, and constraints. If an off-the-shelf machine doesn't fit your product or your floor, that's usually the sign you need a custom build.
Late finalization of the design is the most common culprit. Every change made after the spec should have been frozen resets part of the schedule, which is why locking Step 9 matters as much as any technical decision earlier in the process.
No. A rough description of what the machine needs to do, your constraints, and your timeline is enough to start the conversation. The right questions get asked from there.
Ready to Build Your Product?
Let’s turn your idea into a production-ready product engineered for success.